Construction
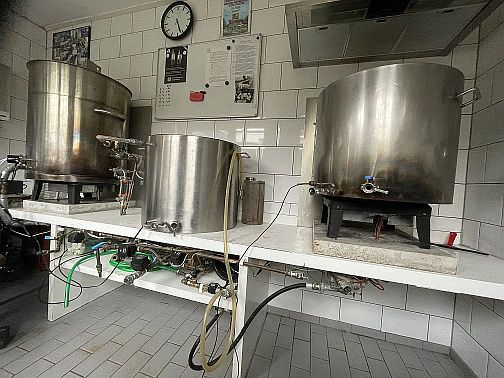
The construction of a RIMS / HERMS brewing setup is not trivial. It takes quite some planning and involves many hours. There are a few topics to watch for specifically. I will try to explain them here.
Welding, Soldering or quick-connect couplings?

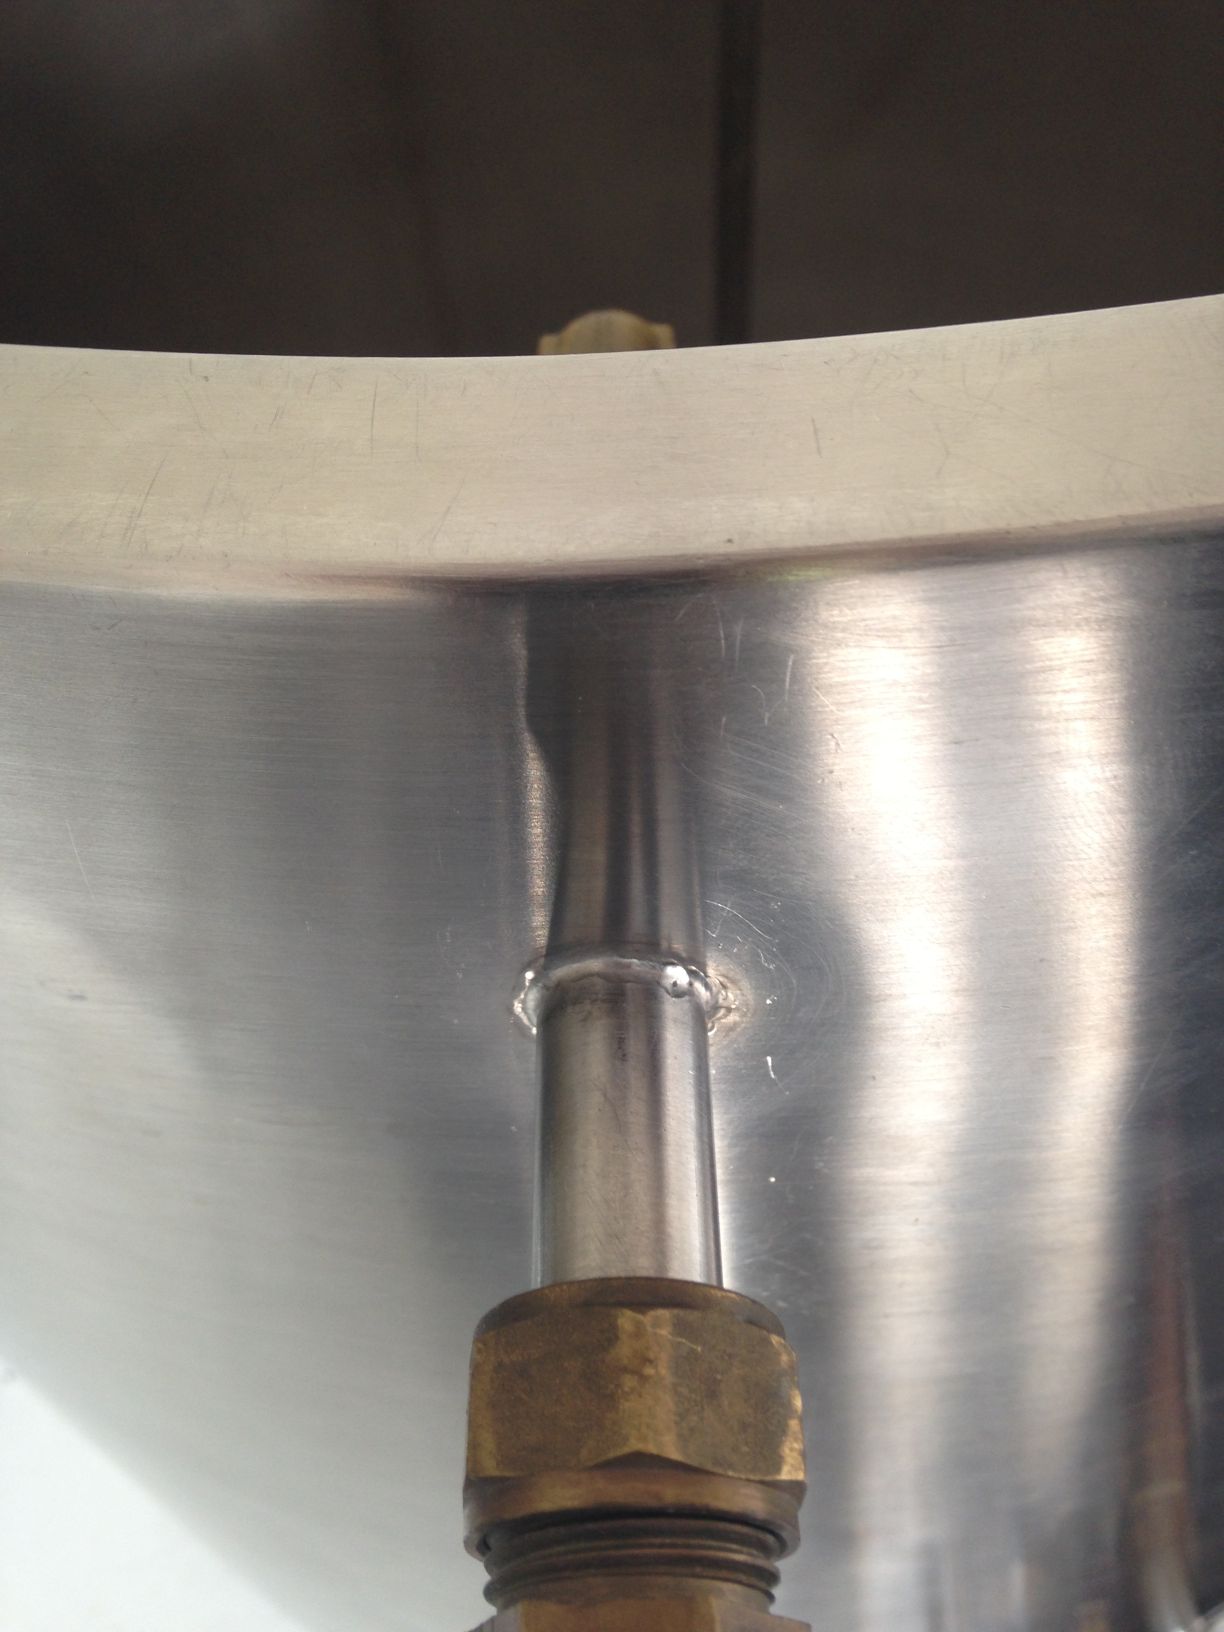
On the Internet various discussions can be found on how to make a water tight connection of a pipe through a stainless steel pan. Some say you should use a nut and a bolt with a rubber washer in between. It did not sound very reliable to me (although they achieved good results). I had my kettles welded by a professional welder. The picture shows the topside of the MLT with a stainless steel pipe welded into the pan. It's a good example of the workmanship done. Especially the double-sided top is impressive: it looks like it is made of just 1 stainless steel plate. If you decide to do it yourself, please watch the following:
- The welding rods should be stainless steel (they have a pink tip at one end). Do not use normal rods, because the welded parts will rust.
- Make sure you practiced before you start. Or better: have it done by a professional. If you explain where you need this for and you throw in some beer, everybody will help! I did not weld anything, because I am too clumsy when it comes to welding.
- After welding, metal pieces fly around when things cool down. You may seriously damage your eyes. Always wear protection!
- Do NOT buy the standard pipes in the regular do-it-yourself store. You MUST have the stainless steel versions, not the galvanised ones. I made this mistake and the pipes started to rust after 1 brewing session. So I had to remove them again (not an easy job).
Soldering Copper
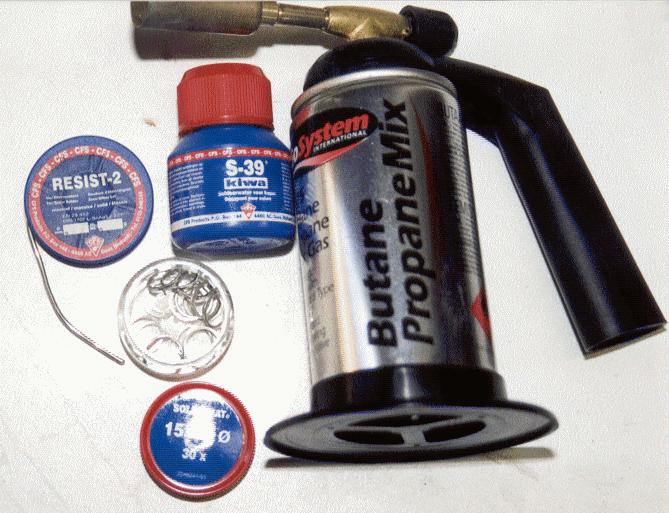
It is difficult to weld copper to stainless steel. Therefore I have chosen for the following soldering equipment:

A connection between a copper pipe and a stainless steel pipe is done with a quick-connect coupling. Copper to copper is always done by soldering. Soldering copper is not difficult (I can do it!). In every do-it-yourself shop you can buy the necessary equipment (see picture). Buy a burner, soldering fluid and tin-solder (the one with silver in it, should be lead-free). A large variety of angles, T-parts, connectors are available. I use one default size (15 mm). This is convenient during construction, because I only need standard components. During soldering I scour all parts with sandpaper, I add soldering fluid and heat everything with the burner. If it is hot enough, touch it with the tin-solder and it will very nicely flow around. I let it cool down for a moment and then you have a water-tight connection. Remove the remaining soldering fluid.
Drilling stainless steel
Drilling stainless steel is not an easy job. You need a good drill with quality bits. I usually start with a 6 mm bit, followed by a 15 mm bit. Make sure you drill slowly with a constant pressure. If you are almost through, the drill might stick suddenly in the stainless steel. If you don't pay attention or you drill too fast, you will injure your wrists! One more thing: make sure the drill is not in the knocking position. You will continue to drill forever (yes, I experienced that too).
Safety
You always have to be very careful when you are dealing with stainless steel. But soldering copper can get you hurt too. A burner is used, copper remains hot for a long time, the pipes have to be cut to the right size. It is great building your own equipment, but never underestimate this. I am glad with all the (professional) help I got. And with respect to the latest kettles: I all had them done by a professional
Back to Top